How to Set Up a Hospital Tank for Sick Fish
Most aquarium losses happen not because the right medication was missing, but because it was used in the wrong tank. Treating a sick fish in a fully stocked display tank means dosing dozens of gallons of water, poisoning the biofilter, exposing healthy fish to unnecessary chemicals, and often failing to reach a therapeutic concentration where it matters. A hospital tank fixes all of that at once.
The concept is straightforward. A small, dedicated tank that stays mostly empty and gets pressed into service the moment a fish shows signs of trouble. It costs under a hundred dollars to put together, takes an hour to assemble, and can save fish that would otherwise be written off.
Below is a working guide to building one, keeping it ready, and using it properly when the time comes.
Why a Hospital Tank Beats Treating in the Display
Treating in your main tank creates several problems at once.
Medications interact with substrate, driftwood, live plants, and biological filtration in ways that either bind up the active ingredient or wipe out the beneficial bacteria running your nitrogen cycle. Copper-based treatments are permanently absorbed into rock and substrate, meaning any invertebrate added years later will still die. Antibiotics kill nitrifying bacteria, triggering ammonia spikes on top of whatever illness you were already dealing with.
Dosing a large display accurately is also harder than it sounds. Rockwork, sand beds, and equipment displace water, so the number on the tank label overstates the actual volume by ten to twenty percent. Underdosing breeds resistant pathogens. Overdosing stresses the healthy fish.
A hospital tank sidesteps all of it. Small volume, no substrate, no decor to absorb medication, and a single patient to observe closely.
What You Need
The full setup is minimal.
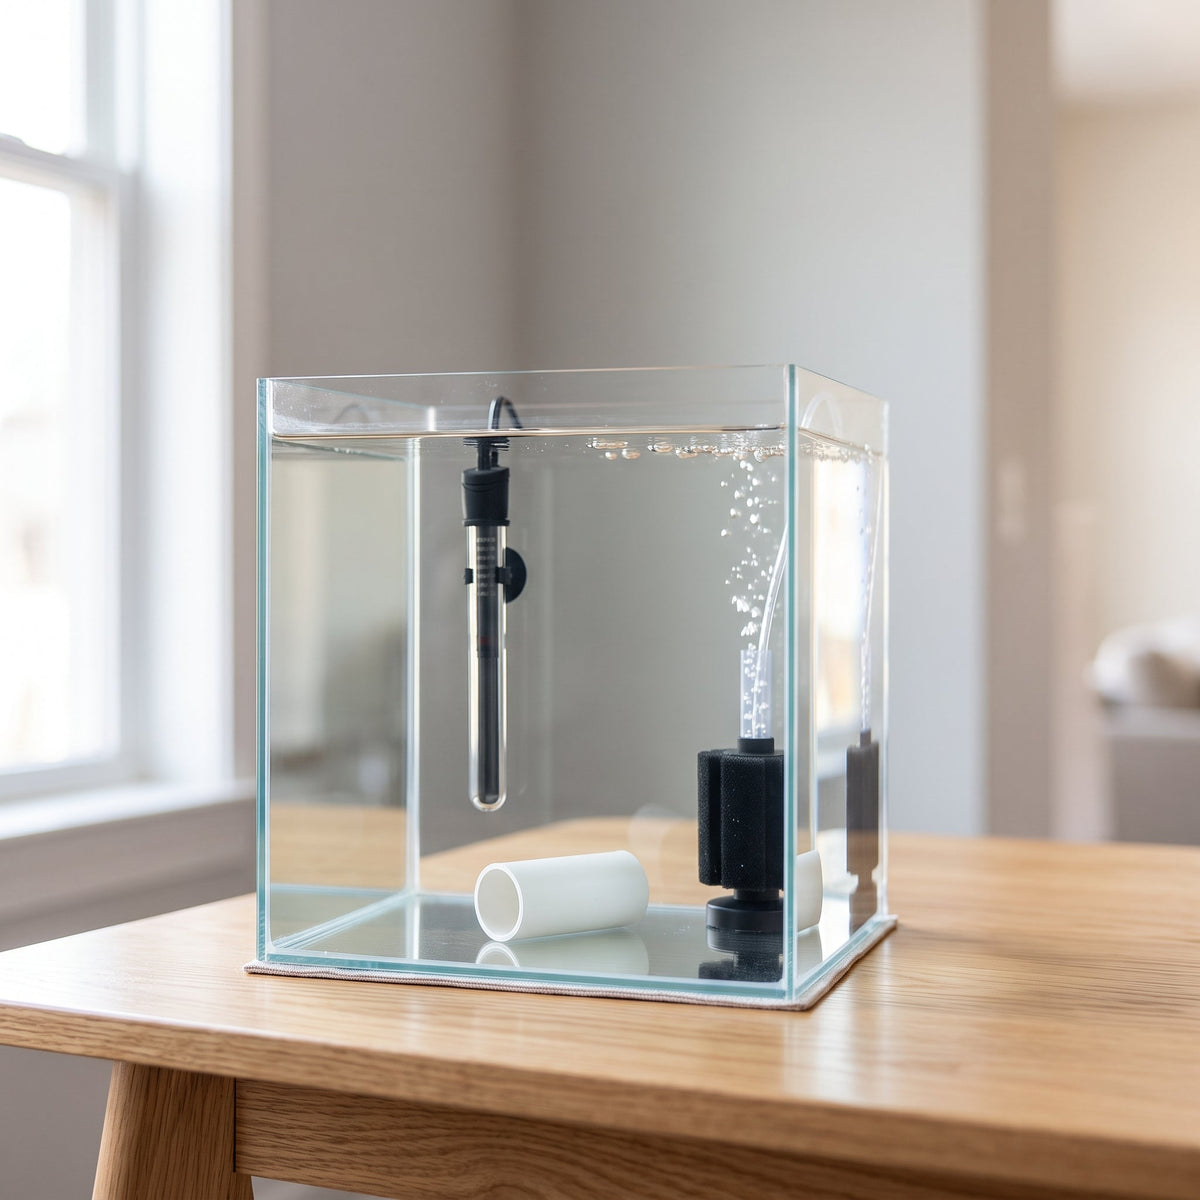
A ten to twenty gallon tank. Ten gallons handles most small to mid-size fish. Twenty gallons is better for larger specimens, cichlids, or multiple patients from the same display. Glass is cheaper and easier to sterilize between uses than acrylic.
A sponge filter driven by an air pump. Sponge filters do not use cartridges, do not contain activated carbon, and provide gentle biological filtration without pulling medication out of the water. Keep a spare sponge running in your display sump or filter at all times so it stays colonized with beneficial bacteria. When the hospital tank goes live, move the pre-seeded sponge over and you have instant biological filtration.
A heater matched to the tank volume. A 50 to 100 watt adjustable heater covers most ten to twenty gallon setups. Temperature stability matters more during treatment than it does day to day.
A tight-fitting lid. Sick fish jump. So do stressed fish. A full glass lid or a fitted mesh top prevents the second disaster after the first one.
A digital thermometer. Stick-on strip thermometers are unreliable. A five dollar digital probe is worth it.
A dedicated set of tools. Net, siphon, bucket, and algae scraper that never touch your display tank. Cross-contamination between systems is one of the most common ways pathogens spread between tanks.
Optional but useful: a small piece of PVC pipe for the fish to hide in. Sick fish are stressed fish, and hiding reduces cortisol response, which supports recovery.
Skip substrate, live plants, driftwood, and rocks. They complicate dosing and provide nothing the patient needs during a treatment cycle.
Keeping It Ready
A hospital tank only works if it is ready when you need it. Waiting until a fish gets sick to start cycling a new tank means the patient sits in a bucket for four to six weeks while nitrifying bacteria establish themselves.
Two approaches work.
The first is the always-running approach. Keep the hospital tank filled, heated, and running twenty-four seven with the sponge filter active. Perform small weekly water changes to keep it stable. This costs a few dollars a month in electricity and gives you a fully cycled, ready-to-use tank at any moment.
The second is the pre-seeded sponge approach. Store the tank empty and dry, but keep a spare sponge filter running continuously inside your main display tank. When trouble appears, fill the hospital tank with dechlorinated water matched to your display parameters, drop in the heater, and transfer the seeded sponge. You have an instantly cycled tank in under twenty minutes.
Both work. Pick based on how much shelf space you have and whether you want the ongoing electric draw.
How to Use It During Treatment
Move the affected fish gently, ideally by scooping it into a container of tank water rather than netting it directly, which reduces slime coat damage. Match the hospital tank temperature and pH to the display before the transfer to avoid shocking an already weakened fish.
Once the fish is settled, observe for a full day before dosing anything if the illness allows time. Water quality issues, injury, and bullying mimic disease symptoms closely, and moving a fish out of a bad situation sometimes resolves the problem without medication.
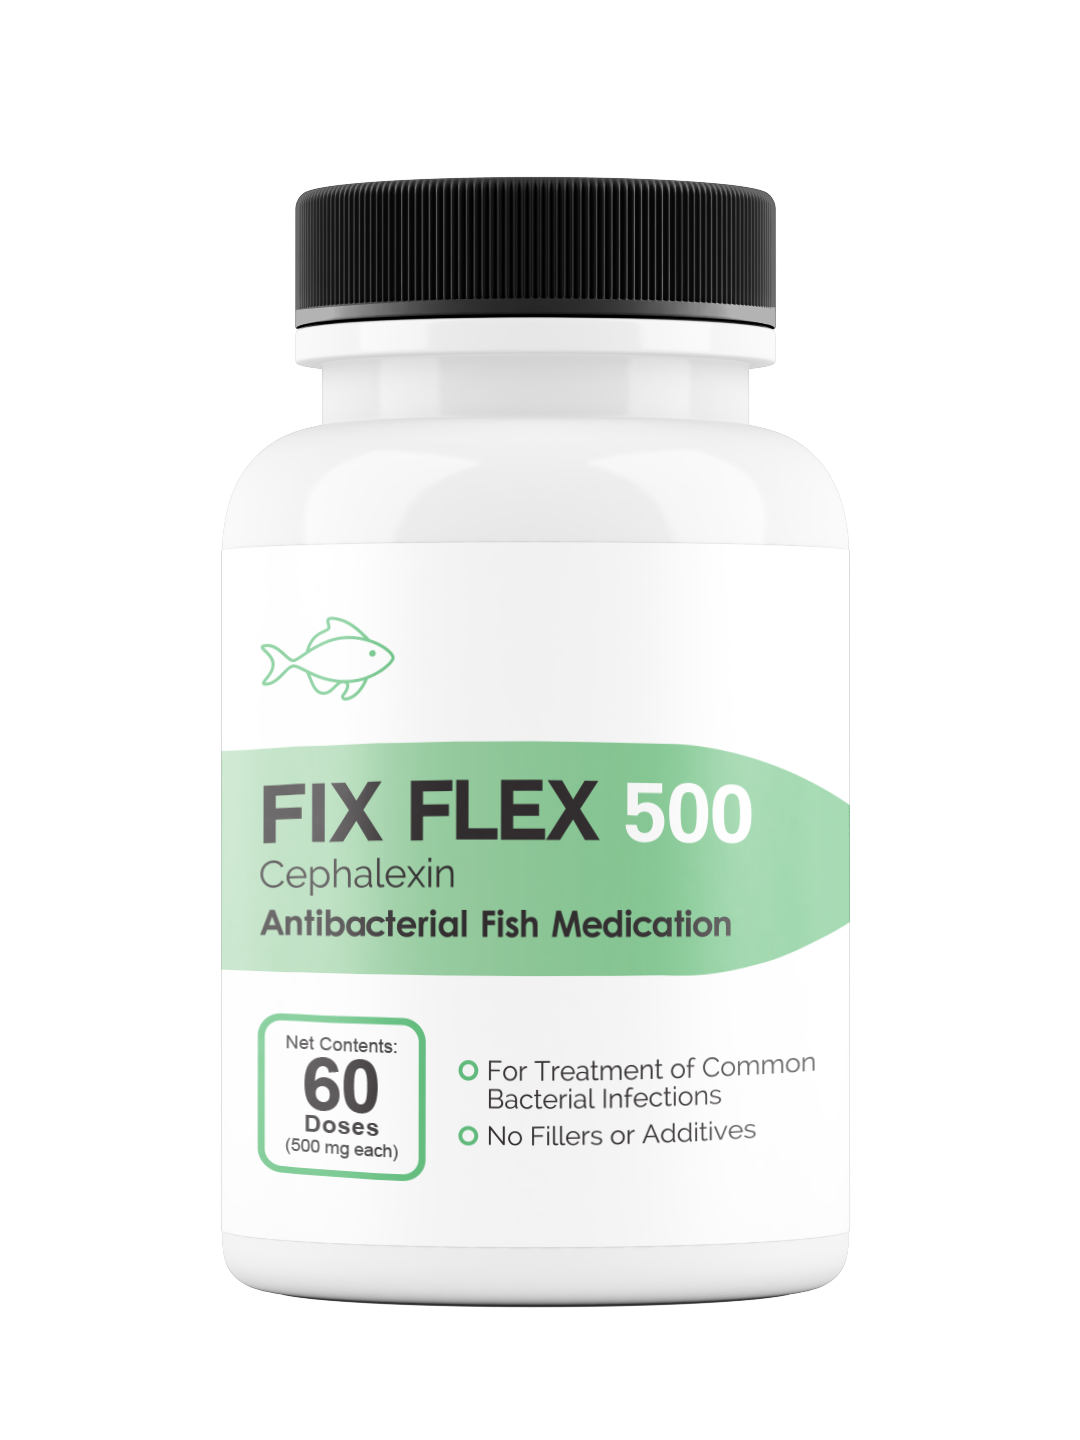
If treatment is warranted, dose according to the specific medication protocol. Remove any activated carbon from filtration first, since carbon adsorbs most antibiotics and antifungals within hours. Test ammonia and nitrite daily during treatment. Perform a twenty-five percent water change and re-dose according to schedule.
Keep the lights dim or off. Bright lighting stresses recovering fish and offers no benefit in a bare tank.
Feed sparingly. Sick fish often stop eating, and uneaten food fouls a small volume of water rapidly. Small pinches once a day are enough during treatment.
After the Treatment Course
Do not rush the fish back to the display. Even after symptoms resolve, keep the patient in the hospital tank for an additional seven to ten days of observation. Relapses often happen in this window, and returning a still-shedding fish to the main tank restarts the outbreak.
When you do reintroduce, match parameters carefully and add the fish during a quiet, low-light period so tankmates do not immediately harass the returning outsider.
After the tank empties, drain it completely, wipe it down with a mild bleach solution at one part bleach to nineteen parts water, rinse thoroughly with dechlorinated water, and let it air dry. The sponge filter goes back into the display or sump to stay colonized until next time.
The Real Value
A hospital tank is one of the highest-return investments in the hobby. It costs less than a mid-tier fish, takes minimal maintenance, and dramatically raises survival rates when something goes wrong. For anyone keeping ornamental fish seriously, whether freshwater community tanks, planted setups, cichlid systems, or reef aquariums, running a dedicated hospital tank is the difference between reacting to illness with the right tools and reacting with hope.
Every experienced aquarist eventually learns this the hard way. Setting one up before the first emergency, rather than after, is what separates the hobbyists who lose fish from the ones who bring them back.